React app that retrieves data from an API and manages states with Redux slices
In this post, we are going to create a simple react app that consults an API that receives a name and returns the gender and the probability of the name. To manage the states between the two components, we will use redux, but we will split each state we handle along with its functions to make it easier to maintain the code.
If we are going to use a lot of data, we need to share it across many components. It results in many states and reducers, and having all of them in a single file will be a mess. As a result, we must divide our store into separate files, each of which will be named slice.
The API that we are going to consume is https://genderize.io/
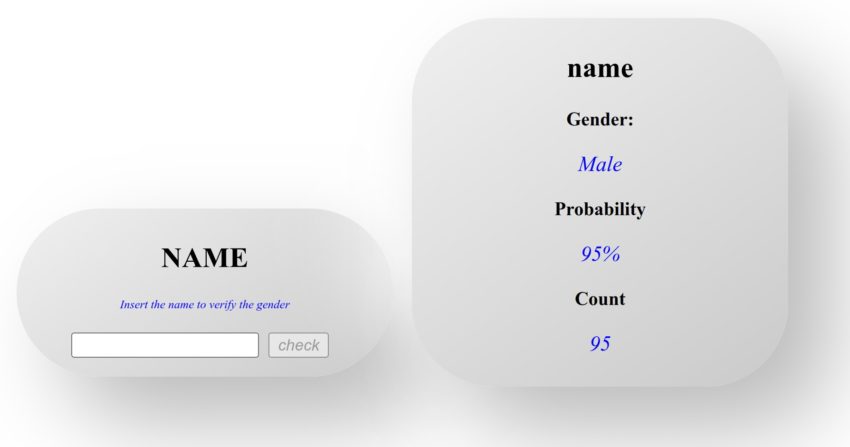
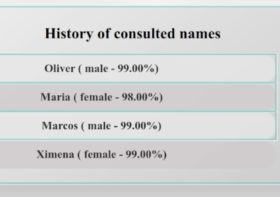
And the interface of our app is

You can download the starting project from https://github.com/sierra-oe/Redux-ReactJS-Http-Request/releases/tag/v1.2 and follow the mini-tutorial.
If you want to download the final project you can clone the repository https://github.com/sierra-oe/Redux-ReactJS-Http-Request.git
If you want to see the introduction of redux with reaction, you can check the following post React-Redux Hello World – Step by step
Steps
To achieve our goal, we are going to follow the next steps:
- Install redux, and the redux toolkit.
- Creating our store
- Creating our slices
- Providing our store
- Consuming data from the store
- Changing the state of our store
- Running the project
Install redux, and the redux toolkit.
We must install the packages.
npm install redux react-redux @reduxjs/toolkitCreating our store
Now we are going to create a store folder inside the “src” directory. Inside, we are going to create a file.
“index.js”, which contains the main configuration of our store, will be in charge of managing all the slices we are going to create.In this file, I import the ‘gender-slice’. This file we are going to create in the next step.
import { configureStore } from "@reduxjs/toolkit";
import genderSlice from './gender-slice';

const store = configureStore({
    reducer: {
        gender: genderSlice.reducer
    }
});

export default store;
The important parts are in the reducer. There we can add as many slices as we have. The first part is the name of the reducer. The name will be used when we call to the reducer in some component. The second argument is the reducer.
Create our slices
As we said before, we are going to divide our store into slices. Each slice should have all the reducers and the initial state.
Inside our store folder, we are going to create one file for each state that we want to share. In this case,
- “gender-slice.js”, which contains the reducers and the initial state and the reducers.
import { createSlice } from "@reduxjs/toolkit";

const genderSlice = createSlice({
    name: "gender",
    initialState: {
        data: { name: "", gender: "", probability: "", count: "" },
    },
    reducers: {
        clear(state, action) {
            state.data.name = "";
            state.data.gender = "";
            state.data.probability = "";
            state.data.count = "";
        },
        setgender(state, action) {
            state.data.name = action.payload.name;
            state.data.gender = action.payload.gender;
            state.data.probability = action.payload.probability;
            state.data.count = action.payload.count;
        },
    },
});

export const genderActions = genderSlice.actions;

export default genderSlice;
It is important to remember that the reducers should be pure functions. In this example, we are going to connect to a rest api, so we have to manage asynchronys. All the asynchrony code should be out of the redux reducers, so in this example, the “fetch” calls will be in the components.
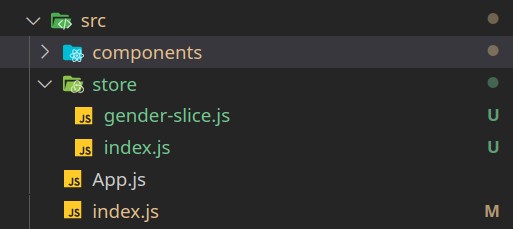
Preview of the project structure
Providing the store
To provide the store, we are going to import “provider” and “store.” We need to subscribe our store to our components at the toop of the tree.
In this case, we are going to subscribe to the ‘index.js’. It is not mandatory to subscribe to the store in index.js. But it is important to provide the store in the component that is the father of the component children that are going to share the state.
import React from 'react';
import App from './App';
import { createRoot } from 'react-dom/client';

import store from './store';
import { Provider } from 'react-redux';

const container = document.getElementById('root');
const root = createRoot(container);

root.render(<Provider store={store}><App /></Provider>);
In our case, the components tree looks like this:
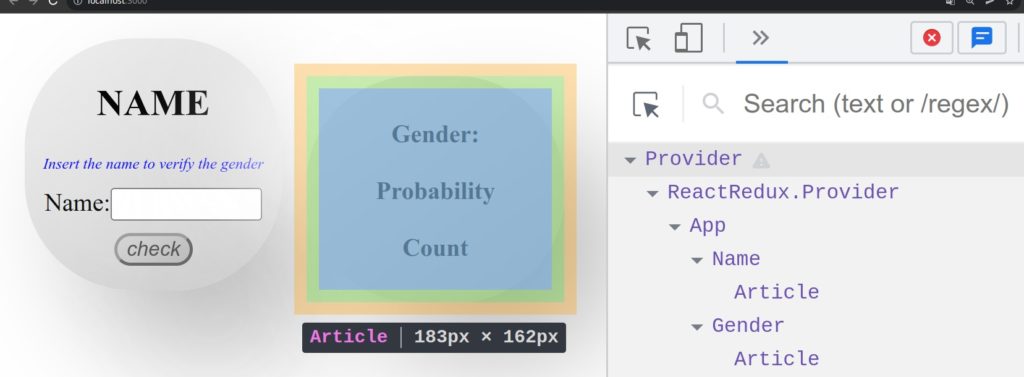
The provider should be at least the first parent of the components that have something in common. In this case, we could put the provider in the “App” component.
Consuming data from the store
We already provide our store. For that, it is as easy as using the ‘useSelector’ hook from ‘react-redux’. It’s important to notice that with the line
const genderData = useSelector((state)=>state.gender.data);React makes the component subscribe to the state from Redux, so when the state is changed, the component will be re-rendered. The “Name.js” file should look like this.
import React from "react";
import { useSelector } from "react-redux";
import { Article } from "../UI/Article";
import classes from "./Gender.module.css";

export const Gender = () => {
    const genderData = useSelector((state) => state.gender.data);

    return (
        <Article>
            <h2>{genderData.name}</h2>
                <ul className={classes.list}>
                    <li className="list">
                        <p className={classes.item}>Gender:</p>
                        <p className={classes.description}>{genderData.gender}</p>
                    </li>
                    <li className="list">
                        <p className={classes.item}>Probability</p>
                        <p className={classes.description}>{genderData.probability}</p>
                    </li>
                    <li className="list">
                        <p className={classes.item}>Count</p>
                        <p className={classes.description}>{genderData.count}</p>
                    </li>
            </ul>
        </Article>
    );
};
Changing the state of our store
When we need to change the data, we need to take the following steps:
- Import the “useDispatch” hook from “react-redux” to interact with the redux store.
- import ‘genderActions’ from the ‘gender-slice’ file from our slice. With this import, we can execute our reducers and send data in the payload to change it.
- Use the hook “useDispatch” to execute the “actionReducers” and send the payload data to the redux.
In our project, the ‘Name.js’ file should look like this.
import React from "react";
import { useDispatch } from "react-redux";
import { Article } from "../UI/Article";
import classes from "./Name.module.css";
import { genderActions } from "../../store/gender-slice";
export const Name = () => {
const dispatch = useDispatch();
const formSubmissionHandler = (event) => {
event.preventDefault();
const getData = async (name) => {
const response = await fetch("https://api.genderize.io/?name=" + name);
if (!response.ok) {
dispatch(genderActions.clear());
//error
return;
}
const responseData = await response.json();
dispatch(
genderActions.setgender({
name: name,
gender: responseData.gender,
probability: responseData.probability,
count: responseData.count,
})
);
};
getData(event.target[0].value);
};
return (
<Article>
<h2>NAME</h2>
<p className={classes.comment}>Insert the name to verify the gender</p>
<form onSubmit={formSubmissionHandler}>
<label>
Name:
<input
type="text"
id="gname"
name="gname"
className={classes.inputName}
/>
</label>
<br />
<input type="submit" value="check" className={classes.submit} />
</form>
</Article>
);
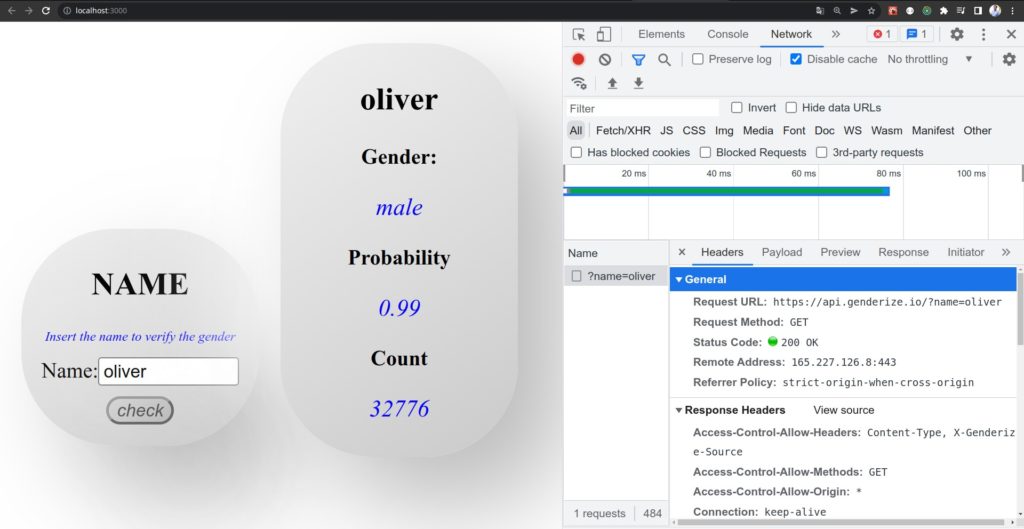
};Running the project
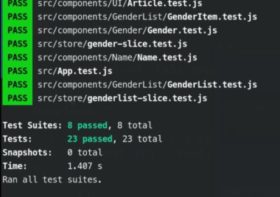
Now we can run the project and we have our redux with slices working!
If you want to download the final project you can clone the repository https://github.com/sierra-oe/Redux-ReactJS-Http-Request.git

Leave a Reply